
Shiitake Mushroom Inoculation: The Process at a Glance
This article is a brief overview of shiitake log cultivation, from log selection to mushroom harvest. Here we will detail the following:
- When to Start
- Log Selection and Preparation
- Drilling
- Plugging
- Waxing
- 9-Month Care Plan
- Fruiting
- Harvest
If you need to brush up on your mushroom terminology, see 8 Dirty Words About Mushrooms.
When To Start Your Inoculation
You can start and complete mushroom log inoculation in two or three weeks. Ideally you start the process at a time of the year when several mild months of weather are sure to follow. In order for the mycelium to easily grow and take root in the oak logs during the first few months, the temperature cannot be too hot or too extremely cold.
The best times to cut and inoculate your logs is early spring or early fall.
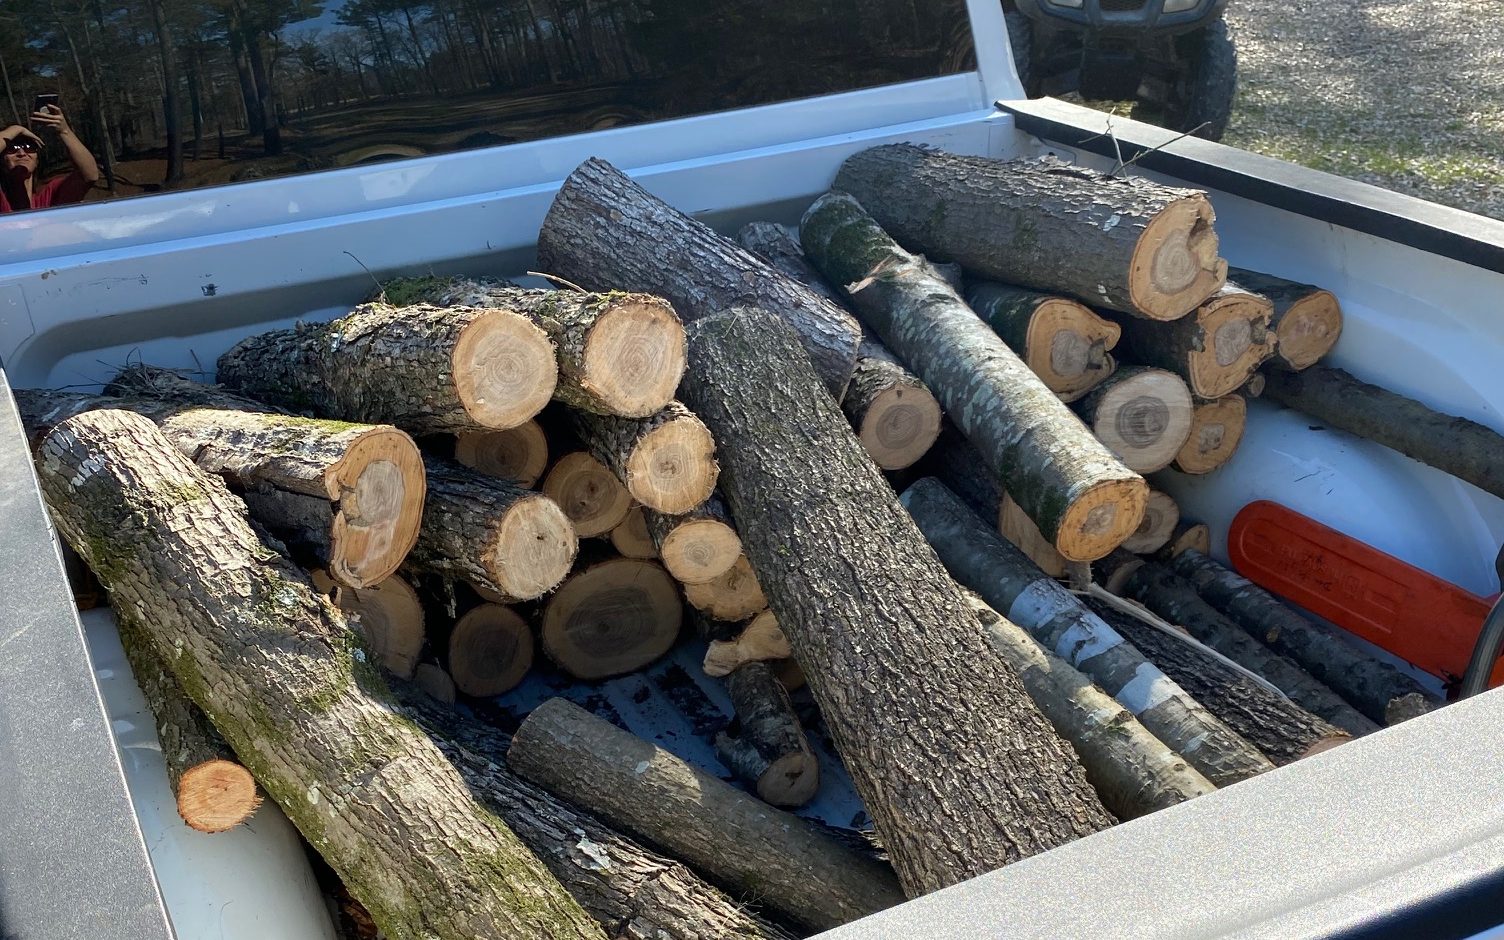
Log Selection and Preparation
The perfect shiitake log:
- fresh-cut oak log
- free of disease or rot
- Diameter 3″ – 8″
- Length 2.5′ – 3′
When selecting and cutting your shiitake logs, it is good to keep a few things in mind.
Don’t go to big. You will be lifting and moving these logs several times throughout the process. Cut a log that is too thick or too long and you could be causing yourself some backache in the future.
Don’t go to small. Smaller logs don’t yield as many mushrooms over the course of their lifetime. They may also dry out faster endangering the success of your inoculation.
Water or soak the logs the day before you are going to drill and inoculate.
Drill
Drill holes that are exactly 1″ deep. Drill them evenly all the way around the log, with each hole being generally 4-6″ apart from the next. A diamond pattern is best.
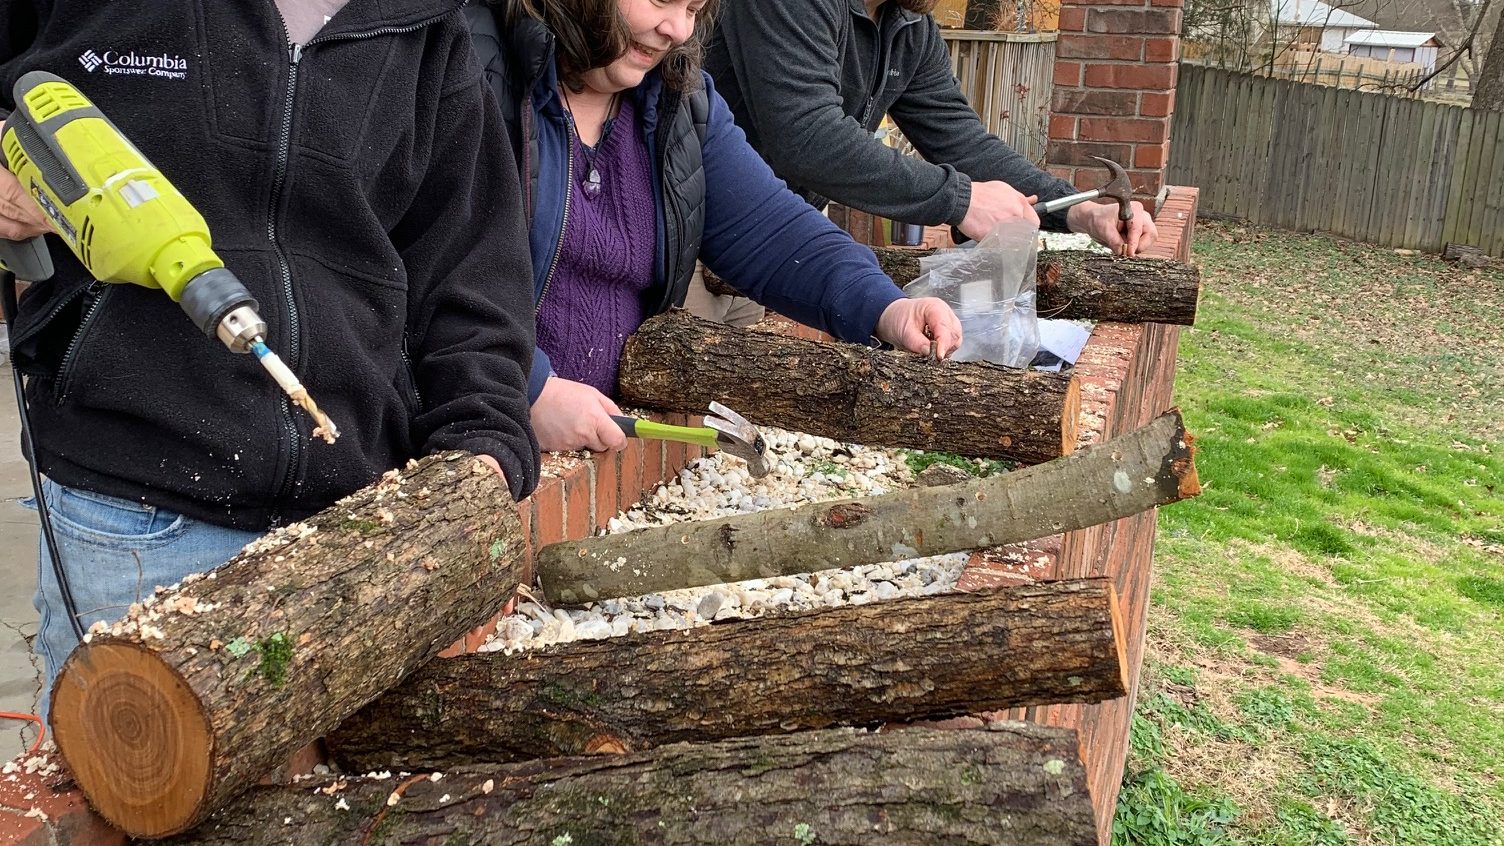
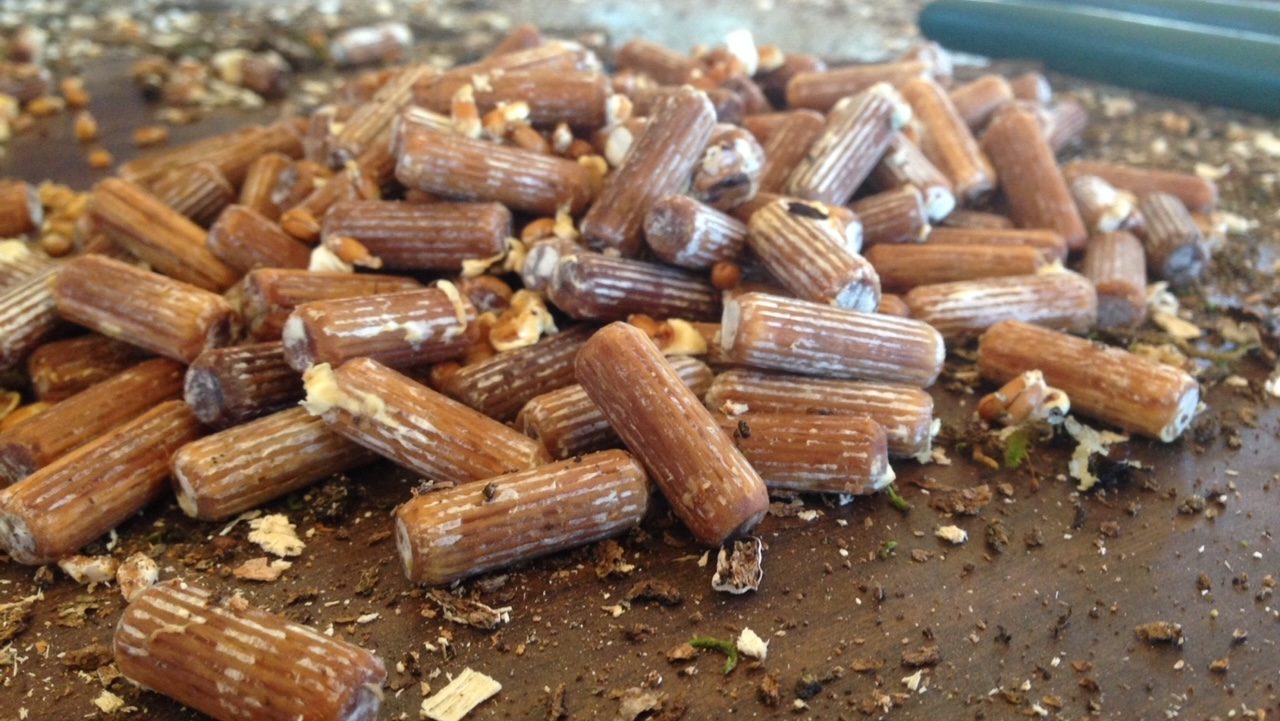
Plug
Take your plug spawn or sawdust spawn out of the fridge and get to plugging. If using plugs, you want to be sure to hammer them all the way into the log. If using the sawdust, you want to be sure to fill the hole completely. Take care that all the holes are filled.
Wax
Use melted wax to seal the outside of each inoculation site. This keeps moisture in the log for the delicate mycelium. The wax also keeps competitor fungi from taking hold on the exposed wood.
9-Month Care Plan
Consider a few key elements for your care plan:
- positioning
- water
- shade/sun
- humidity/wind exposure
Stack your logs off the bare ground. The best style of positioning will depend upon the climate of your region. In a dry climate, stacking a log horizontally will preserve moisture inside. In rainy or humid conditions tilting logs upright is preferred. This prevents excess moisture from building up inside the wood, causing rot.
For the first two months, it is very important that you water the logs at least once or twice a week. The delicate mycelium inside the logs cannot survive going completely, especially when it is first starting out.
For the next 6 or 7 months all you really need to do is ensure that the logs get less than 3 hours of direct sun a day – so generally kept in a very shady area.
If a couple of weeks go by without any rain showers, it is a good idea to get out and water your logs generously. They can survive a little dry weather but not much. Think of the mycelium growing inside as a small plant that will wilt and dry if allowed to go too long without water.
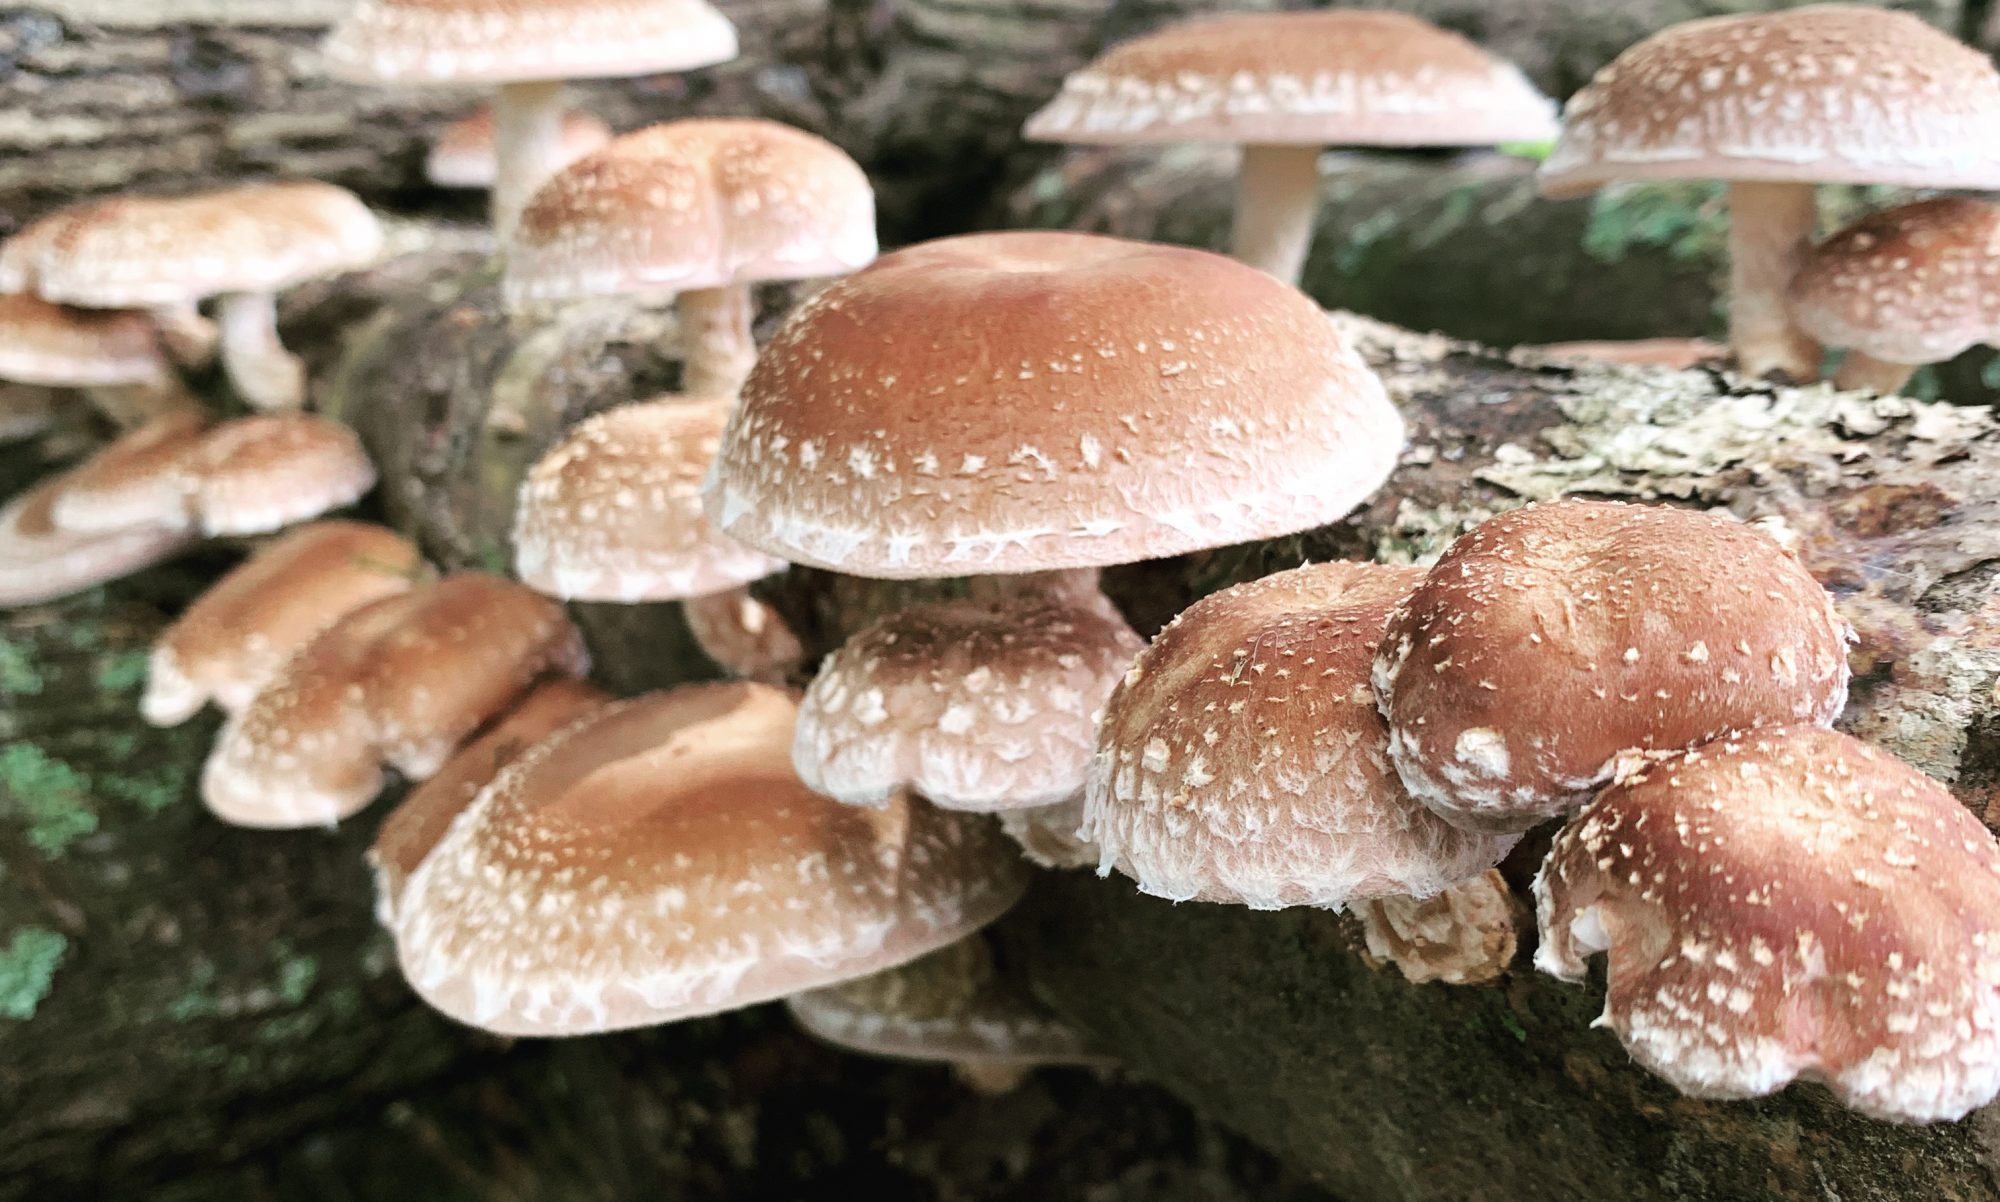
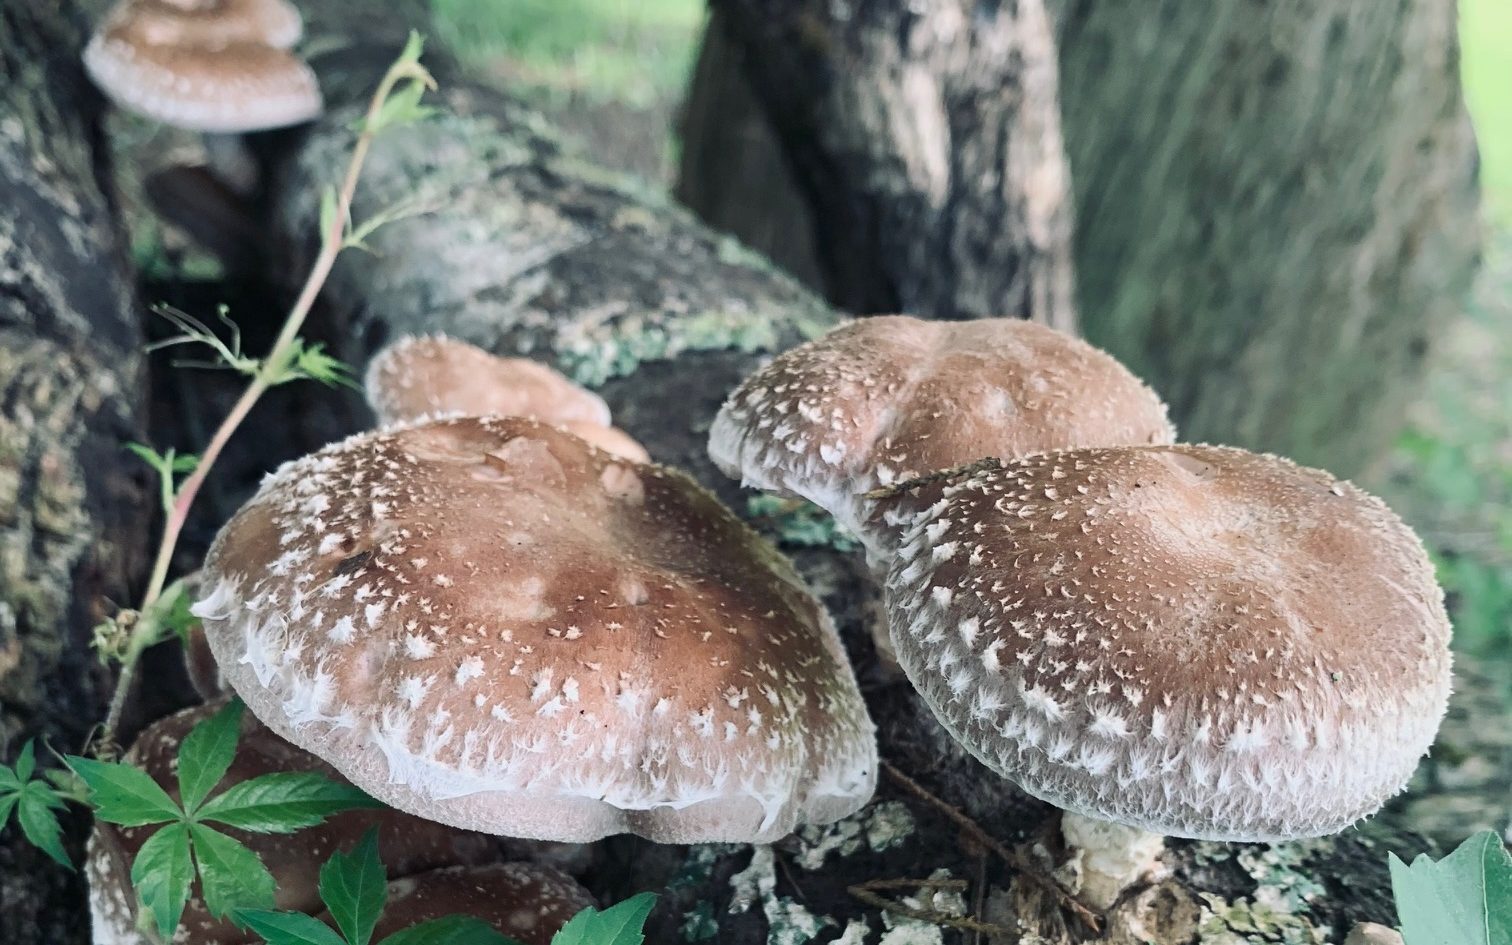
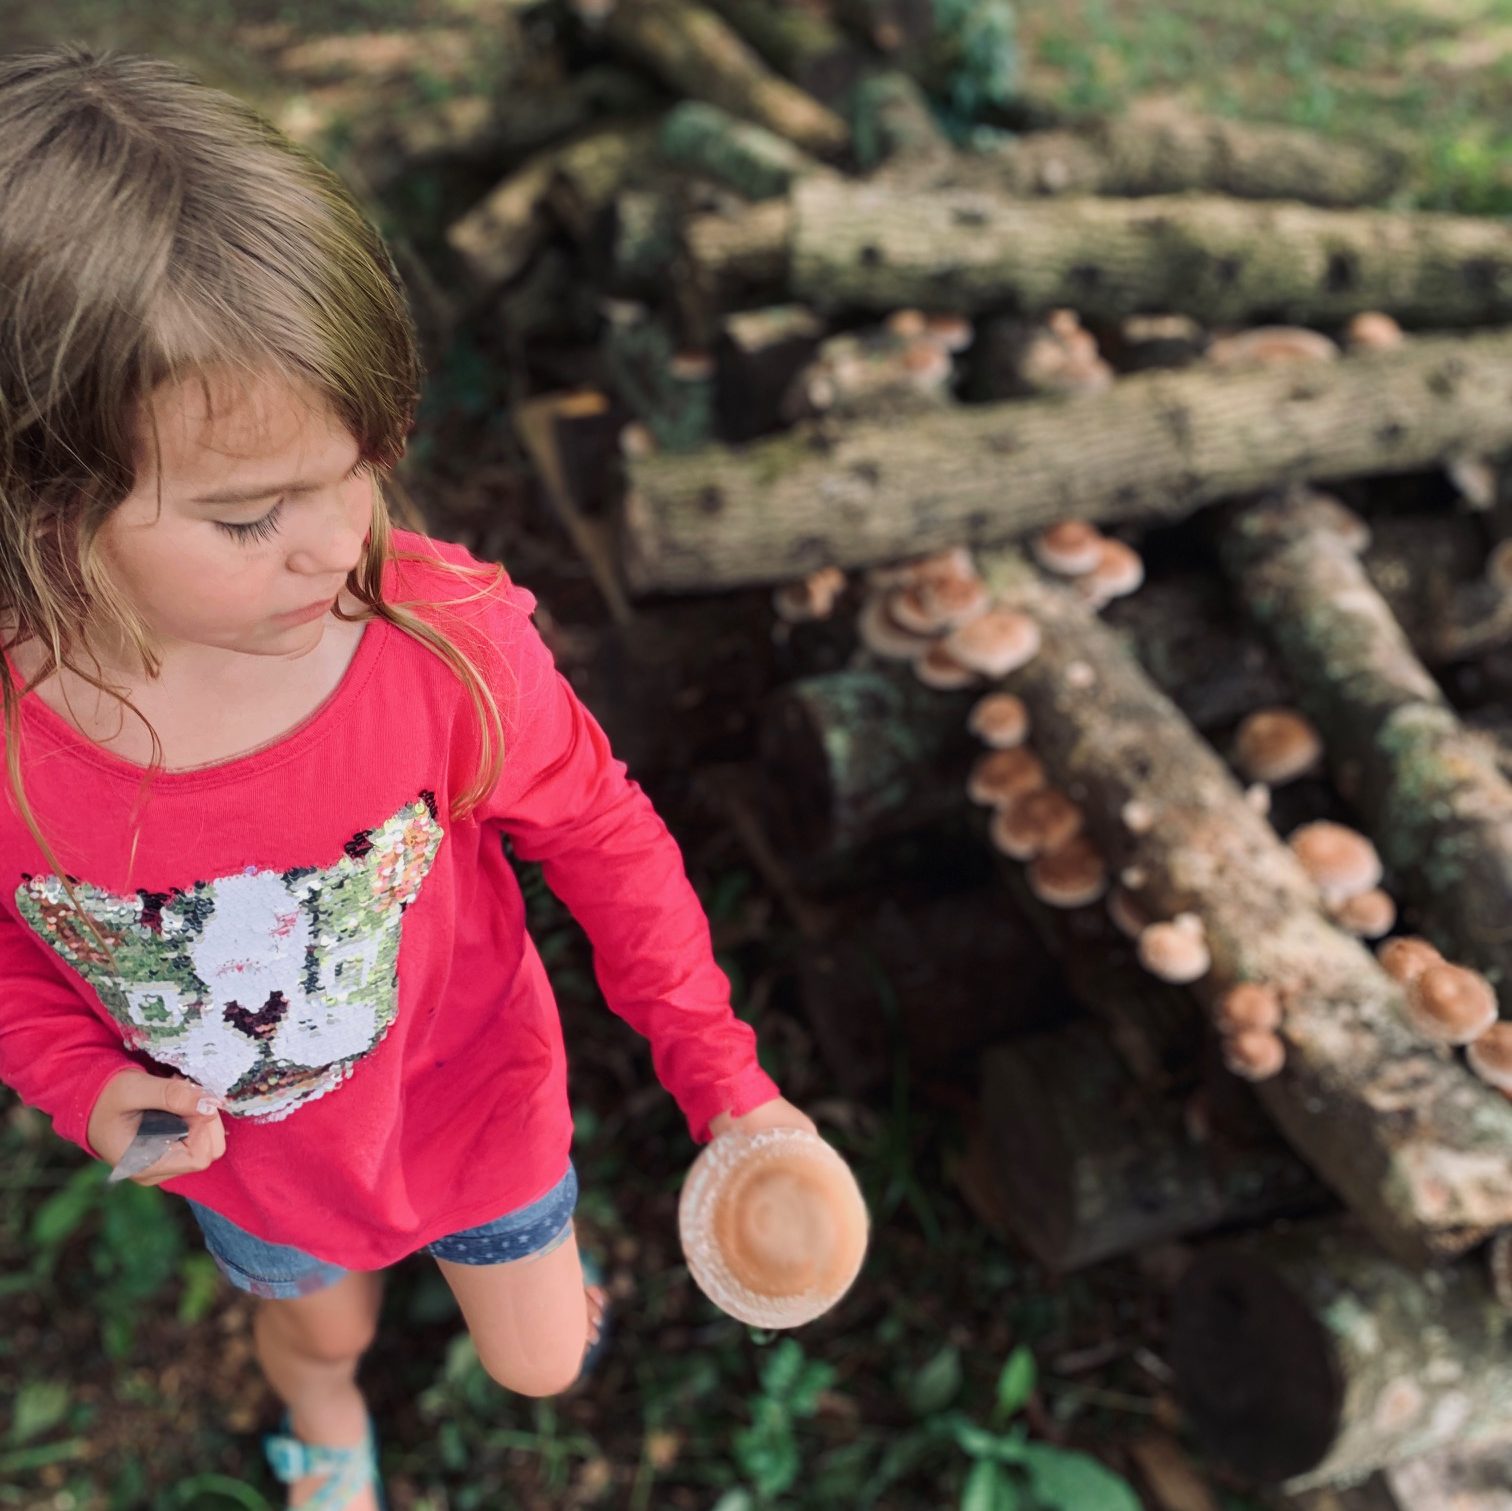
Fruiting
When the temperature and humidity level sits just right for a few days, you will see your first few mushrooms. This is an indicator that the log is ready to fruit. All it needs is a good solid soaking and with the right ambient temperature to get the process going.
The right temperature depends upon the specific strain of shiitake you are growing. Generally the ideal temperature ranges from 50 to 80 degrees F.
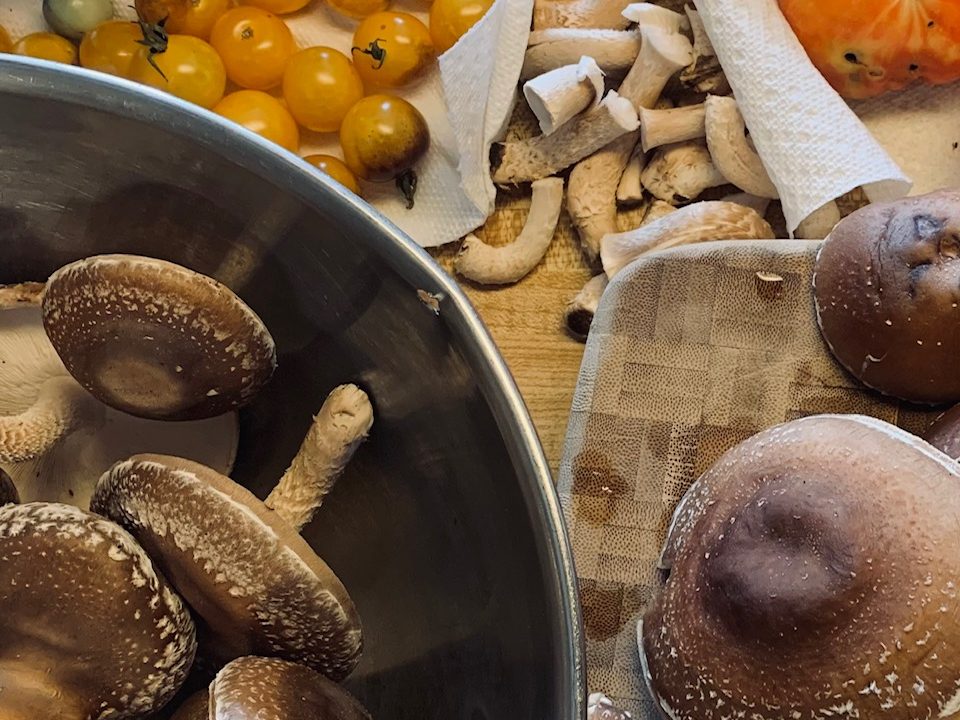
Harvest
Mushrooms are at peak flavor and most ideal texture when the cap is almost completely unrolled and expanded. Use a sharp knife to cut the stem right next to the log’s bark.
What’s Next?
In the next few articles we will dig deeper into each phase of the process. The process itself is simple but at each step there are a few small decisions to make that can have a big impact on the success of your endeavor. We’ll walk you through each step of the process starting with the tools you need.
Follow or subscribe to this blog to receive the latest article.